May 11, 2012

quite a classy crate

i've been wanting a crate to put over all the wires next to my desk and vintage crates are huge right now

Pinned Image


and they are kind of beautiful...aren't they

Pinned Image

i love the typography...the old wood......c'est amour. but i DON'T love the price tags on these puppies
def out of my price range

Pinned Image

but this one from michael's had just the right price tag


 $12 with a 40% off coupon. gotta love a coupon :)


this is the 'large crate', so make sure not to get a smaller one if you want to make your very own
classy vintage crate


so here is what's up. you need:
a crate
a bowl/ other round object
a pencil
a ballpoint pen
sand paper
paint brush (foam or bristle)
wood stain
wood finish

1. get your bowl and place it like so on the end of your crate


2. outline the edge of your bowl/other object in pencil lightly. make sure your bowl/other object is centered!


3. find a vintage sign you like. i found this one on pinterest- it looked simple and nice. but if you are really good at free handing, pick out something crazier. or easier. whatever floats your boat


4. start free handing the sign. it doesn't need to be perfect, and you can make mistakes because hey! pencil is erasable!


when you're done sketching it will look something like this


5. outline and fill in your sign with a black ballpoint pen.


which will end up looking something like this. let it dry awhile, so that the ink can set into the wood


6. take some of that sandpaper and brush it over the logo, some spots more than others, to make ti look faded


as you can see, the ink will smear a little. don't worry at all. it will look fabulous smeared :)


7. beat up your wood. get a spoon, a paint brush, or whatever is laying around and whack, scrap, stab and beat up the wood

8. stain and finish it. i used minwax special walnut and minwax polycrylic.


 they work wonders. i put on two light coats of stain along with one coat of finish and here is what it came out as....

BAM!


take that heftily priced crates! i just made my own!!!
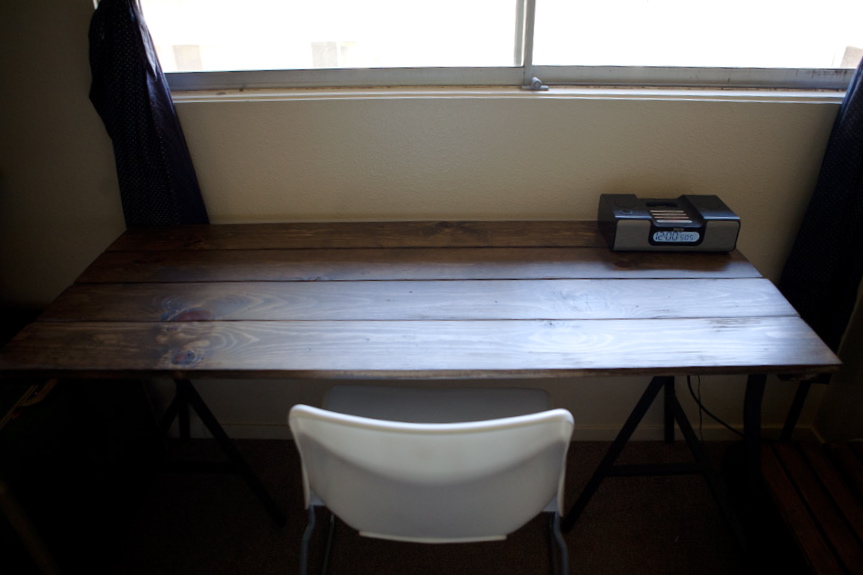

so now this


looks like this


ah, i love me a wire free space.


oh and i love the price of my vintage crate


yay yay yay :)


so you gonna make it? huh huh huh?

May 7, 2012

desk domination

i wanted a new desk
and i wanted to make it

i found a desk i liked, but the tutorial was so vague and the products aren't available in the US, so i figured it was time for a tutorial on
how to make your own 'reclaimed wood' desk


alright people. let's get down to business. 


you will need (for one desk):
four pieces of 6"x5'x1" wood boards (we used pine)
two pieces of 2"x2'x1" wood (we used birch)
1 1/4" wood screws
2 ikea vika lerberg grey legs
minwax special walnut stain
minwax polycrylic finish
an electric drill
hammer
automatic sander
brushes (foam or bristle)
washcloths/rags

1. get all your wood to be the same size. we bought 6"x10'x1" and had home depot cut them in half for us, but really you just need the total depth of the desk to 24" and the total length to be 5'

also, try and find boards that have character, like a really interesting grain, or a big knot, or stripes. those 'flaws' in the wood make for a much cooler desk

 2. sand them all down: front, back, and sides. the more you sand, the better the stain goes on!


3. now, we are going to distress our wood. this is where the hammer comes in. just bang up your wood a bit, at random spot. feel free to get creative


we used pliers, nails in a bag, a hammer, and other random tools to make scuffs, dents, and scratches. the more 'distressed' your wood, the more industrial it looks


now for the stain


we took some scrap pieces of pine and tested how much stain we like before trying it on our desks. also , you could use the side of the board you know will be on the bottom to test out the stain before you put it on top. i used Minwax's Special Walnut. i loooove it.

4. lay your boards flat with the top side up, making sure they are free of dust or any particles


5. start staining. i wanted my desk to be light, so i brushed it on and immediately followed it with a washcloth


after a few hours i did a second coat and wiped it off one minute after leaving it on and here is what it looks like


jason wanted darker, so we let one coat sit for 8 hours, then applied two more coats. his wood looks like this


basically, his is a bit darker. 

6. once the top is stained just how you like it, stain the sides, the bottom, and the small stabilizer pieces and let them dry as the stain directions state
we only ended up needing four, by the way :)

*we only sanded the ends of the birch stabilizers pieces, and stained them without sanding the rest. they turned out fine*

7. now for the ikea legs. you can either order these online like i i did because there isn't one nearby, or by them from the store. you'll want to order grey legs


8. get those screws out 


and place the stabilizer pieces at the end of each side of your desk, about an inch from the end. drill one screw into each board one each side of the desk


9. now for a clear coat. i suppose you could have done this step right after staining, but i wanted my boards firmly all together when i started the clear coat. make sure to read all of the directions very carefully or it will turn milky, and no one likes milky stain.
no one. 
this stain was actually perfect, even though it goes on a little purple. why? i do not know. but don't worry it dries clear with a it of gloss.


so apply the clear coat...


10. place your desk on top of your legs. now, if you want your desk extra extra stable, you could use some earthquake putty or velcro along the tops of the legs and attach it to the desk. this will make your  desk stable and also easy to disassemble

11.um....you're done :)


YES!


I LOVE IT!


our old desks took up so much room and were so clunky, and i love the clean lines this one has.


it also looks so much less cluttered, possibly because we just put all of our clutter in the closet. hahaha


it is so much more our style, and guess what?


making two of these desks cost about as much as one of our old desks!


i think the total cost was about $30 per desk

do you liiiike?

May 4, 2012

cola cola swag

remember this tie i made for my brother dennis while he was in the MTC training to become a missionary?

i finally got a shot if it in action!

unfortunately, the only time i have a picture of him wearing it, he got into a bike accident


him vs. the pavement.

guess who won.

anyway, i am so pumped he is wearing it!

here is what he wrote me about it:

"you have my word that ill rock it with pride and of course go hard wearing my custom cola cola missionary swag"

from the mouths of babes, people.

now go enjoy your weekend! 
i have some crafty surprises for you soon!


oh and if you're bored, you can go check out this blog i run for my brother while he is on his mission. there are lots of fun pictures :)